Since the body is off the frame,
now is the perfect time to traditionally set up the rearend of the 40.
Early on I had tried to replicate an unsplit wishbone setup,
similar to using the front radius rod ball on the rear wishbones.
This setup works as it's on my pickup,
the problem is it is difficult to tune or align.
Now that there is a full floor on the body,
I've realized it is also easier to change right now.
Definitely a bummer to cut out all this old work out,
but that's what happens.
Speedway makes it too easy by selling a balljoint and weld bung kit.
Make sure you buy the little brackets with the 7 degree tapered hole,
this is really important unless you have the correct reamer.
All this is under $50.
There is a huge amount of measuring, positioning, remeasuring, jacking, thinking, cutting...
to get to the step where the threaded bungs can be welded in.
Once welded up,
I like to squirt some oil down the radius rods.
There are a couple small holes that hold the brake line brackets,
and it is amazing how rusty some of these are inside.
Now it is time to make the template for the bracket mount.
To me it is easier and cheaper to build one from scratch using those tapered hole tabs
and some scrap steel.
This chunk of scrap was used to press the top cowl piece.
Weird how that works.
The most important part of setting up the rearend,
is matching the pinion angle to the transmission/engine.
Since the frame is jacked up at a random position,
the angle isn't important,
only that they are equal.
The only issue at this point is the correct angle of the rear end,
not the alignment.
Good time to have a stash of clamps and wood blocks.
The plate is mounted,
so now the tie rod brackets can be attached.
All that measuring that was done before the first cut now needs to be remeasured to perfection,
or else the car will crab down the road sideways.
Make sure to leave 5 or 6 threads out of the jam nut for tuning purposes.
Also make sure you take off the rubber tie rod covers when tacking,
and take the tie rods out when welding!
Let's let it cool off.
Perfect time for a break.
******************************************************
sausage - riddles are abound tonight
******************************************************
With the suspension all assembled,
we did an extended frame bounce to make sure it wasn't bound up anywhere.
No problem.
Even forgot to take a picture of the finished assembly!
With no time to waste,
the kids and I rolled the frame back underneath the levitating body.
Perfect time to break the jack!
There was a concern that the body mount holes wouldn't line up.
Nope this thing is stiff as a,
well let's just say everything fit perfect.
And here's a sneak peak of the rarely seen passenger side.
always been stuffed over by the wall.
It was a long day,
by this photo it was after 9pm.
Is that Jake sleeping or working?
Nothing a tire swing can't fix.
Fortunately no injuries!
I'll call that a good day!
TP
now is the perfect time to traditionally set up the rearend of the 40.
 |
| unsplit wishbone rear suspension |
Early on I had tried to replicate an unsplit wishbone setup,
similar to using the front radius rod ball on the rear wishbones.
This setup works as it's on my pickup,
the problem is it is difficult to tune or align.
Now that there is a full floor on the body,
I've realized it is also easier to change right now.
 |
| rear unsplit wishbone balljoint suspension |
Definitely a bummer to cut out all this old work out,
but that's what happens.
 |
| split wishbone kit |
Speedway makes it too easy by selling a balljoint and weld bung kit.
Make sure you buy the little brackets with the 7 degree tapered hole,
this is really important unless you have the correct reamer.
All this is under $50.
 |
| oiling |
There is a huge amount of measuring, positioning, remeasuring, jacking, thinking, cutting...
to get to the step where the threaded bungs can be welded in.
Once welded up,
I like to squirt some oil down the radius rods.
There are a couple small holes that hold the brake line brackets,
and it is amazing how rusty some of these are inside.
 |
| split wishbone mock up |
Now it is time to make the template for the bracket mount.
To me it is easier and cheaper to build one from scratch using those tapered hole tabs
and some scrap steel.
 |
| full circle scrap |
This chunk of scrap was used to press the top cowl piece.
Weird how that works.
 |
| input shaft angle |
The most important part of setting up the rearend,
is matching the pinion angle to the transmission/engine.
 |
| pinion angle |
Since the frame is jacked up at a random position,
the angle isn't important,
only that they are equal.
 |
| clamped |
The only issue at this point is the correct angle of the rear end,
not the alignment.
Good time to have a stash of clamps and wood blocks.
 |
| aligning wishbones |
The plate is mounted,
so now the tie rod brackets can be attached.
All that measuring that was done before the first cut now needs to be remeasured to perfection,
or else the car will crab down the road sideways.
Make sure to leave 5 or 6 threads out of the jam nut for tuning purposes.
Also make sure you take off the rubber tie rod covers when tacking,
and take the tie rods out when welding!
 |
| welded up |
Let's let it cool off.
Perfect time for a break.
******************************************************
sausage - riddles are abound tonight
******************************************************
 |
| hot rod frame |
With the suspension all assembled,
we did an extended frame bounce to make sure it wasn't bound up anywhere.
No problem.
Even forgot to take a picture of the finished assembly!
 |
| in position |
With no time to waste,
the kids and I rolled the frame back underneath the levitating body.
 |
| broken jack |
Perfect time to break the jack!
 |
| 1940 ford coupe chopped and channeled |
There was a concern that the body mount holes wouldn't line up.
Nope this thing is stiff as a,
well let's just say everything fit perfect.
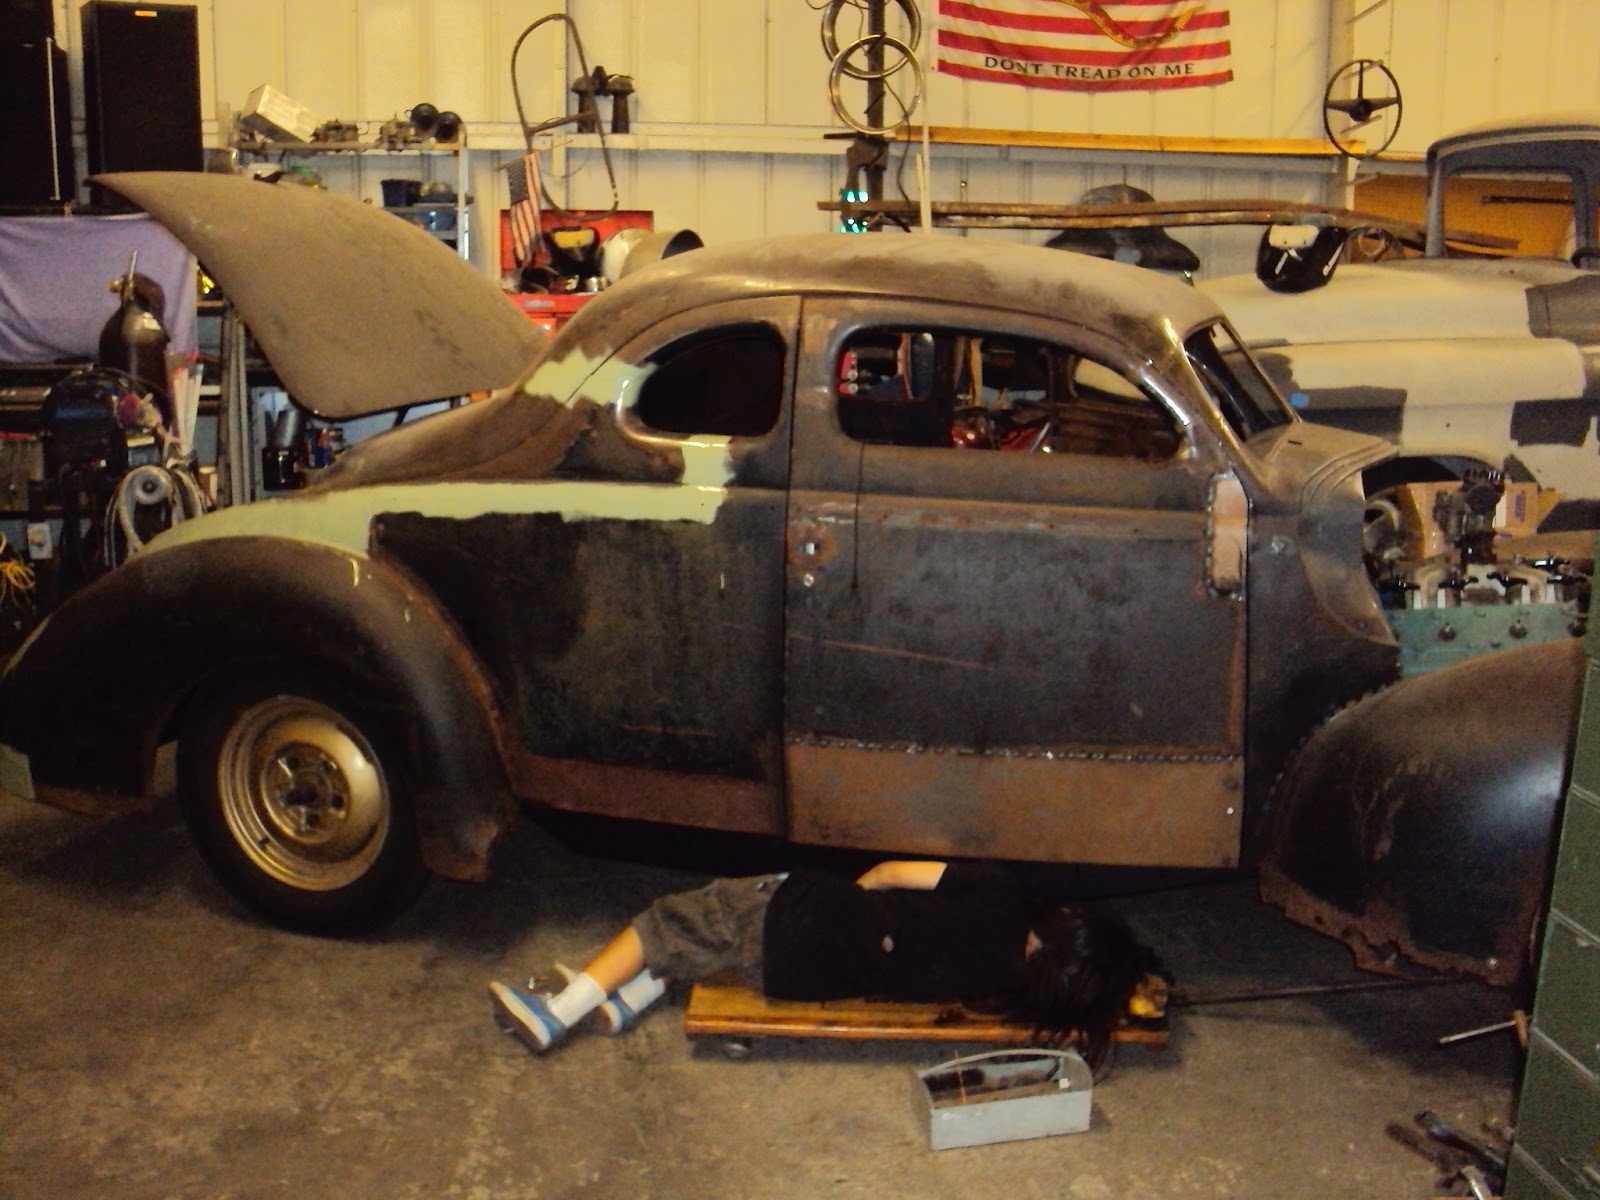 |
| working or sleeping? |
And here's a sneak peak of the rarely seen passenger side.
always been stuffed over by the wall.
It was a long day,
by this photo it was after 9pm.
Is that Jake sleeping or working?
 |
| jakob on tire swing |
Nothing a tire swing can't fix.
 |
| perich brothers |
Fortunately no injuries!
 |
| 1940 coupe chopped rear shot |
I'll call that a good day!
TP
Maybe you could use this...
ReplyDeletehttp://www.ebay.com/itm/320966571594
Well I'm not at the radiator stage yet but thanks for the tip!
ReplyDeleteTP