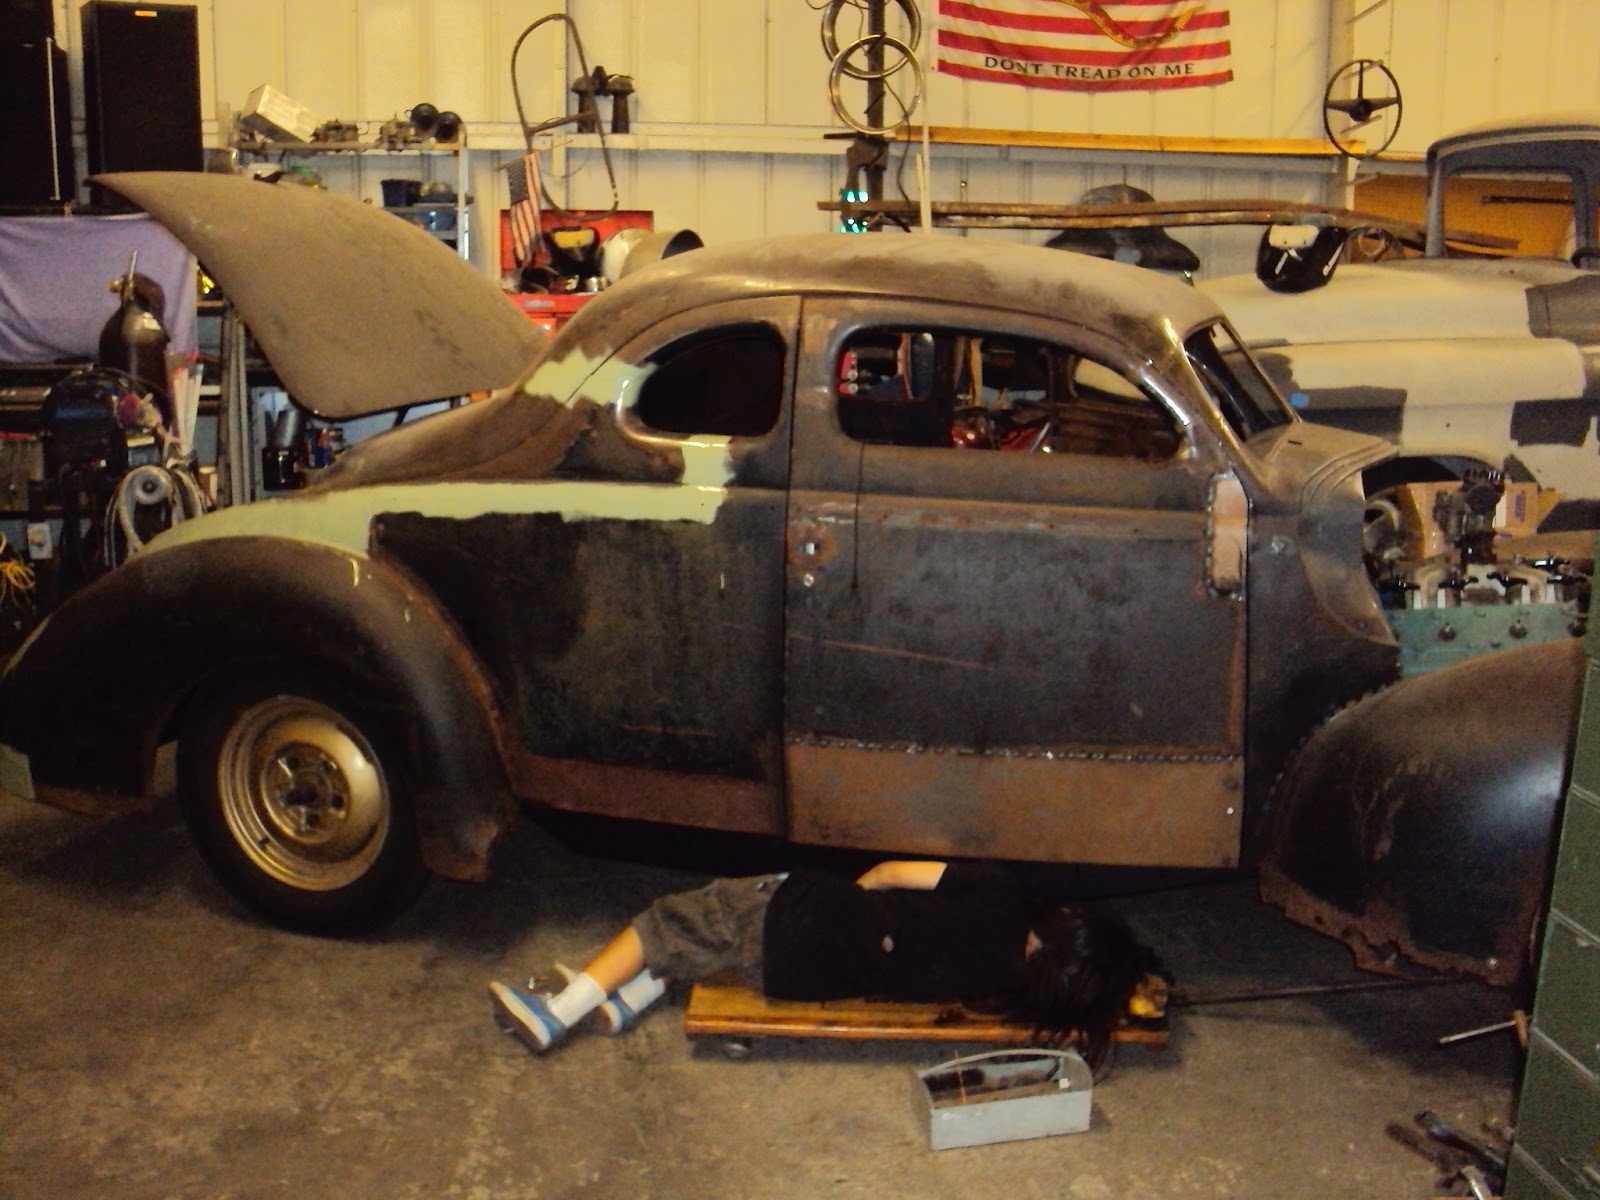
One of my biggest concerns about the rusty 40 project is this old banjo.
I've had friends who have broke axles and lost wheels,
and with the engine(s) this thing will have that doesn't seem too fun.
I used the banjo style rear end cause I have too many of them,
and at the time the idea was to use what was lying around the shop.
Another issue was converting this to a normal driveshaft.
An open shaft kit was needed and at $250,
there was better ways to spend that money.
The split wishbone radius rod setup made it easy to dissassemble.
If I had known all the kids wanted was a dirty tire hanging from a chain,
this would have been a permanent fixture.
It's like working at the circus.
A template was made to hold the 1936 radius rods.
The green 40 will have the same rear end set up,
so 3 pair would be good to have so I can lose a set later on.
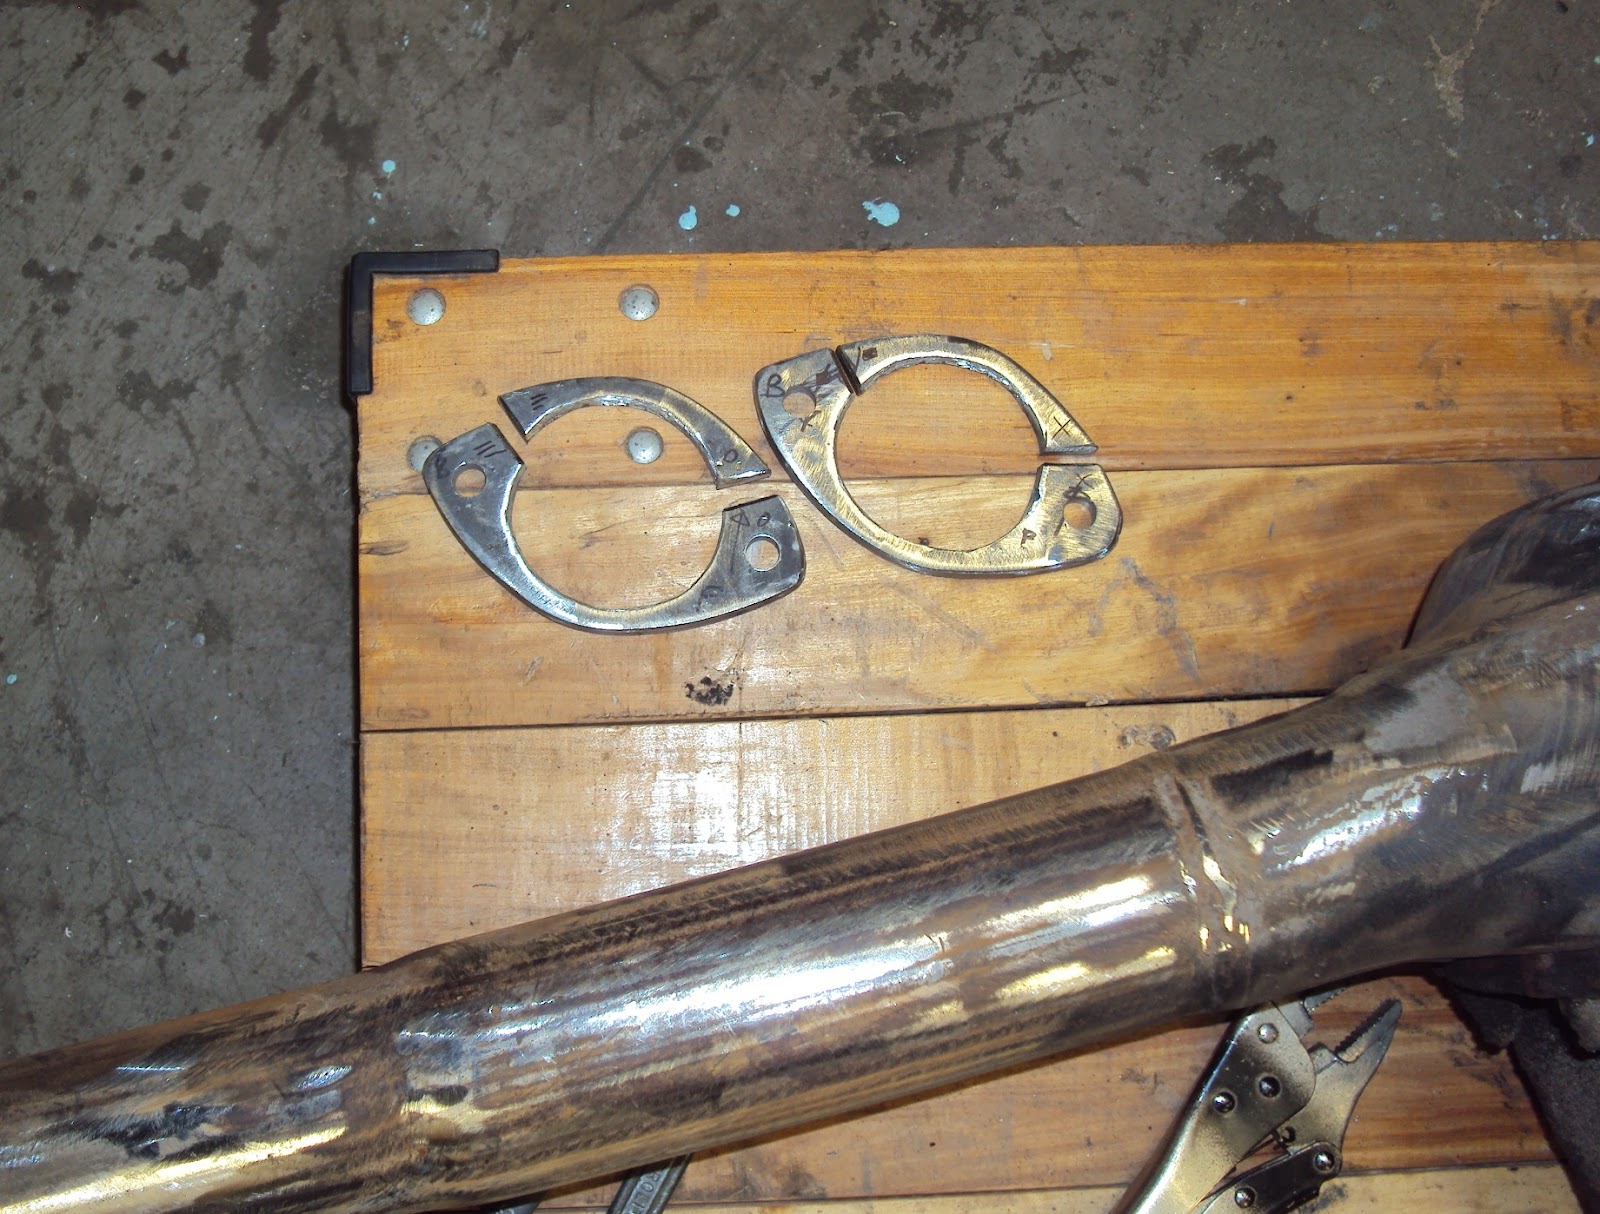
No I didn't cut these out with a grinder.
Hard to see here,
but I've found out the easiest way to torch a clean line,
is to scribe the shape with a cutting disc.
Much easier to follow the shape than chalk or sharpie.
A couple minutes later and the pieces were good to go.
While the torch was out,
the old spring pads were lopped off this 68 mustang 9" rear end.
Much better way to spend that $$ than that driveshaft kit!
That wrapped it up for the first nights work.
The next day was all about setting up the 9 inch.
=============================================
Jimi Hendrix - like a rolling stone
"that's his grandmother out there!"
=============================================
The footballs need 2 half inch holes,
and I eyeballed the marks with a hammer and punch.
Unbelievably the bolts slid in perfectly,
hopefully I'll be lucky with the other 2 sets.
The pieces were cut to ring around the axle tubes.
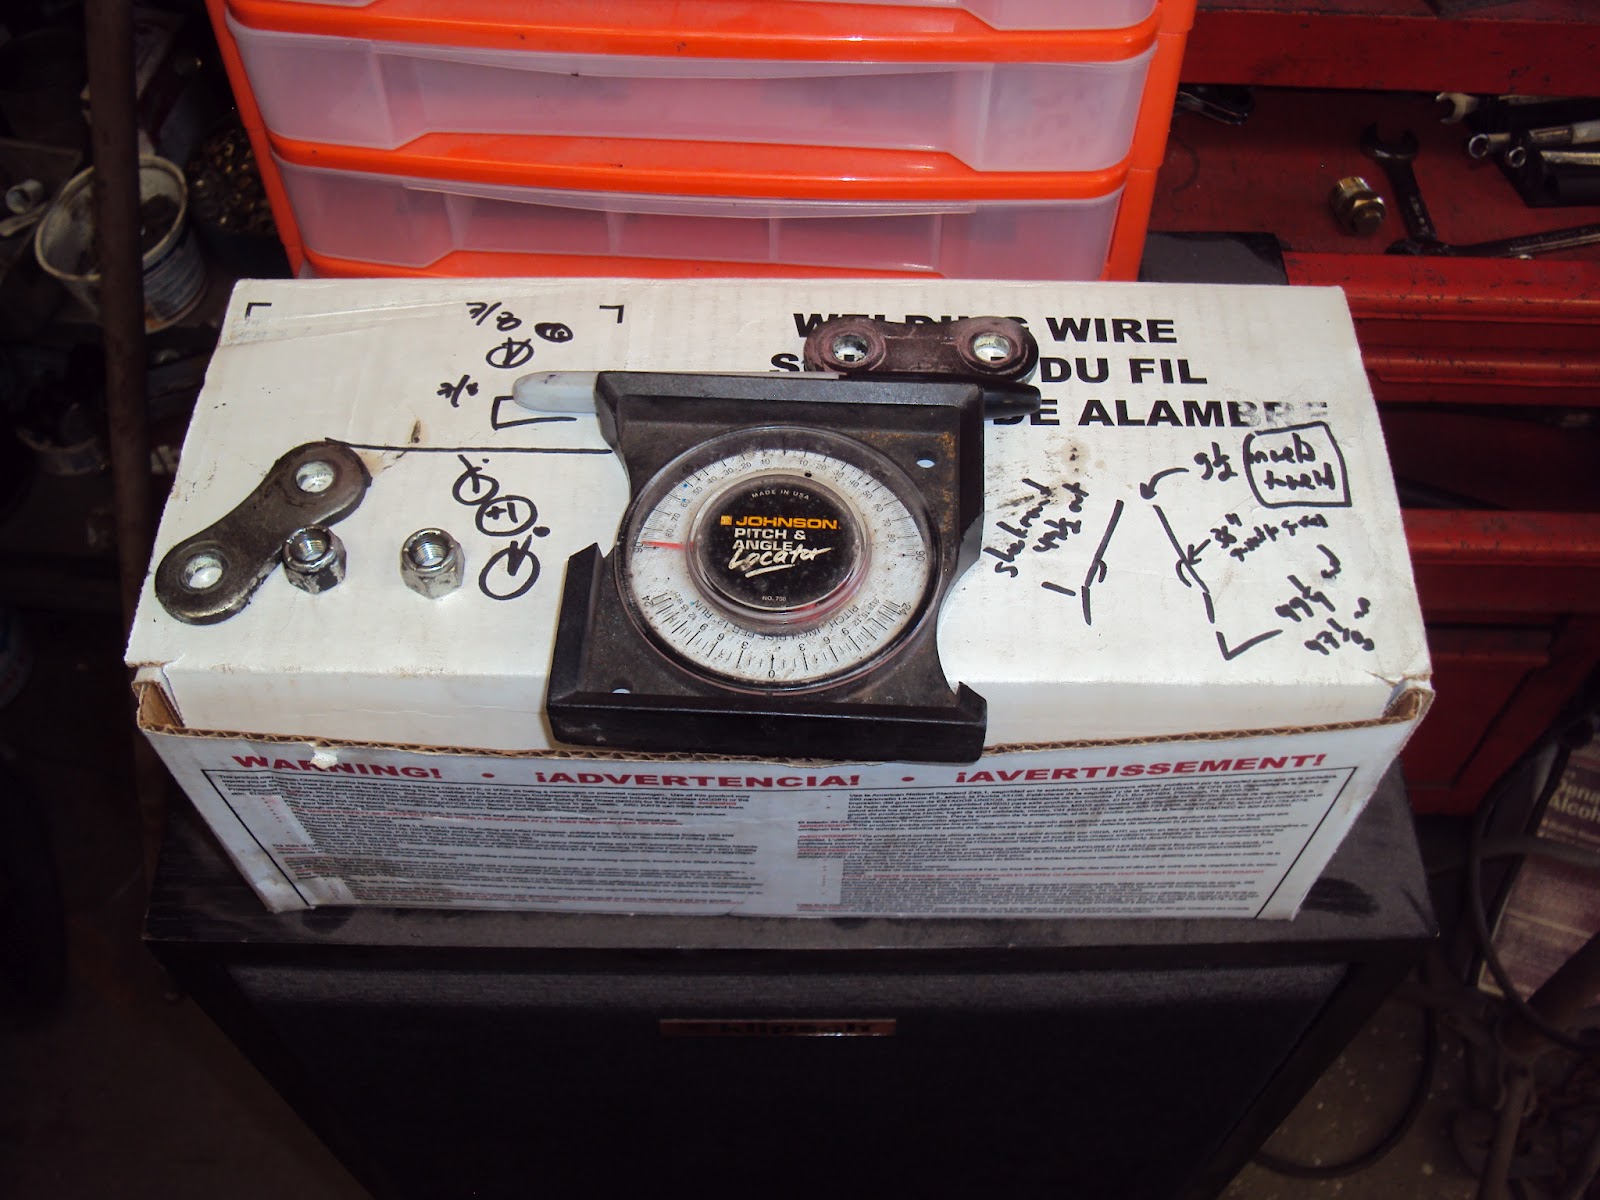
Oh yeah an angle template was made to get an idea of the positioning.
The pieces were tacked together
The pieces were assembled for installation.
I had taken a bunch of different measurements.
Always write them on something that won't get thrown away.
The most important measurement is that the spring eyes were 49.5" outside to outside.
Some measurements were marked on the rear end to help center it.
With the balljoints attached to the bracket,
the rear end was mocked up in the frame.
The kids were crucial at this point to keep me from going insane.
I'd slide around from side to side on the creeper comparing measurements.
It was ridiculous.
Once the rearend was centered and the spring points were perfect,
the pumpkin was rotated to match the tranny output shaft angle.
Again since the car is jacked up,
the actual angle isn't important as long as they match tranny and rear end.
Than everything was remeasured for the last time.
The kids were now going crazy.
The new pads were tacked,
and the whole unit removed and disassembled for welding.
I didn't want to warp the axle tube,
so short welds were buzzed over a long time for cooling.
After some grinding and wirewheeling,
everything was painted black.
I really wanted to make a bracket for a future torque arm,
but didn't know the positioning yet.
What a relief when everything fit.
This was a big deal I'd been wanting to do this for at least a year.
The tire shop was lagging with the tire swap,
since inner tubes aren't normally carried anymore.
With some temporary rims installed,
the rear end was the perfect width.
Later on I'll swap out the 3.0+ one legger pumpkin
for this 3.50 posi unit.
Double burnouts!
At least I won't get stuck as easily off roading.
The next day the tires still weren't ready.
Oh well,
Not like it's going anywhere.
Much better with the running boards.
One thing off the list!
TP
I've had friends who have broke axles and lost wheels,
and with the engine(s) this thing will have that doesn't seem too fun.
 |
| ford banjo rear end |
I used the banjo style rear end cause I have too many of them,
and at the time the idea was to use what was lying around the shop.
 |
| removing spring |
Another issue was converting this to a normal driveshaft.
An open shaft kit was needed and at $250,
there was better ways to spend that money.
 |
| rearend pieces |
The split wishbone radius rod setup made it easy to dissassemble.
 |
| day care |
If I had known all the kids wanted was a dirty tire hanging from a chain,
this would have been a permanent fixture.
It's like working at the circus.
 |
| template |
A template was made to hold the 1936 radius rods.
 |
| eyes |
The green 40 will have the same rear end set up,
so 3 pair would be good to have so I can lose a set later on.
 |
| grinder |
No I didn't cut these out with a grinder.
Hard to see here,
but I've found out the easiest way to torch a clean line,
is to scribe the shape with a cutting disc.
Much easier to follow the shape than chalk or sharpie.
 |
| footballs |
A couple minutes later and the pieces were good to go.
 |
| ford 9 inch rear end |
While the torch was out,
the old spring pads were lopped off this 68 mustang 9" rear end.
Much better way to spend that $$ than that driveshaft kit!
 |
| old and older ford rear ends |
That wrapped it up for the first nights work.
The next day was all about setting up the 9 inch.
=============================================
Jimi Hendrix - like a rolling stone
"that's his grandmother out there!"
=============================================
 |
| test fit |
The footballs need 2 half inch holes,
and I eyeballed the marks with a hammer and punch.
Unbelievably the bolts slid in perfectly,
hopefully I'll be lucky with the other 2 sets.
 |
| cut |
The pieces were cut to ring around the axle tubes.
 |
| angle template |
Oh yeah an angle template was made to get an idea of the positioning.
The pieces were tacked together
 |
| test fit |
The pieces were assembled for installation.
 |
| rough assembly |
I had taken a bunch of different measurements.
Always write them on something that won't get thrown away.
 |
| measurements |
The most important measurement is that the spring eyes were 49.5" outside to outside.
 |
| measurement marks |
Some measurements were marked on the rear end to help center it.
 |
| jaxon perich |
With the balljoints attached to the bracket,
the rear end was mocked up in the frame.
The kids were crucial at this point to keep me from going insane.
I'd slide around from side to side on the creeper comparing measurements.
It was ridiculous.
Once the rearend was centered and the spring points were perfect,
the pumpkin was rotated to match the tranny output shaft angle.
 |
| pinion angle |
Again since the car is jacked up,
the actual angle isn't important as long as they match tranny and rear end.
 |
| perich brothers |
Than everything was remeasured for the last time.
The kids were now going crazy.
 |
| welding time |
The new pads were tacked,
and the whole unit removed and disassembled for welding.
I didn't want to warp the axle tube,
so short welds were buzzed over a long time for cooling.
 |
| rear end assembled |
After some grinding and wirewheeling,
everything was painted black.
I really wanted to make a bracket for a future torque arm,
but didn't know the positioning yet.
 |
| nine inch rear end setup |
What a relief when everything fit.
This was a big deal I'd been wanting to do this for at least a year.
 |
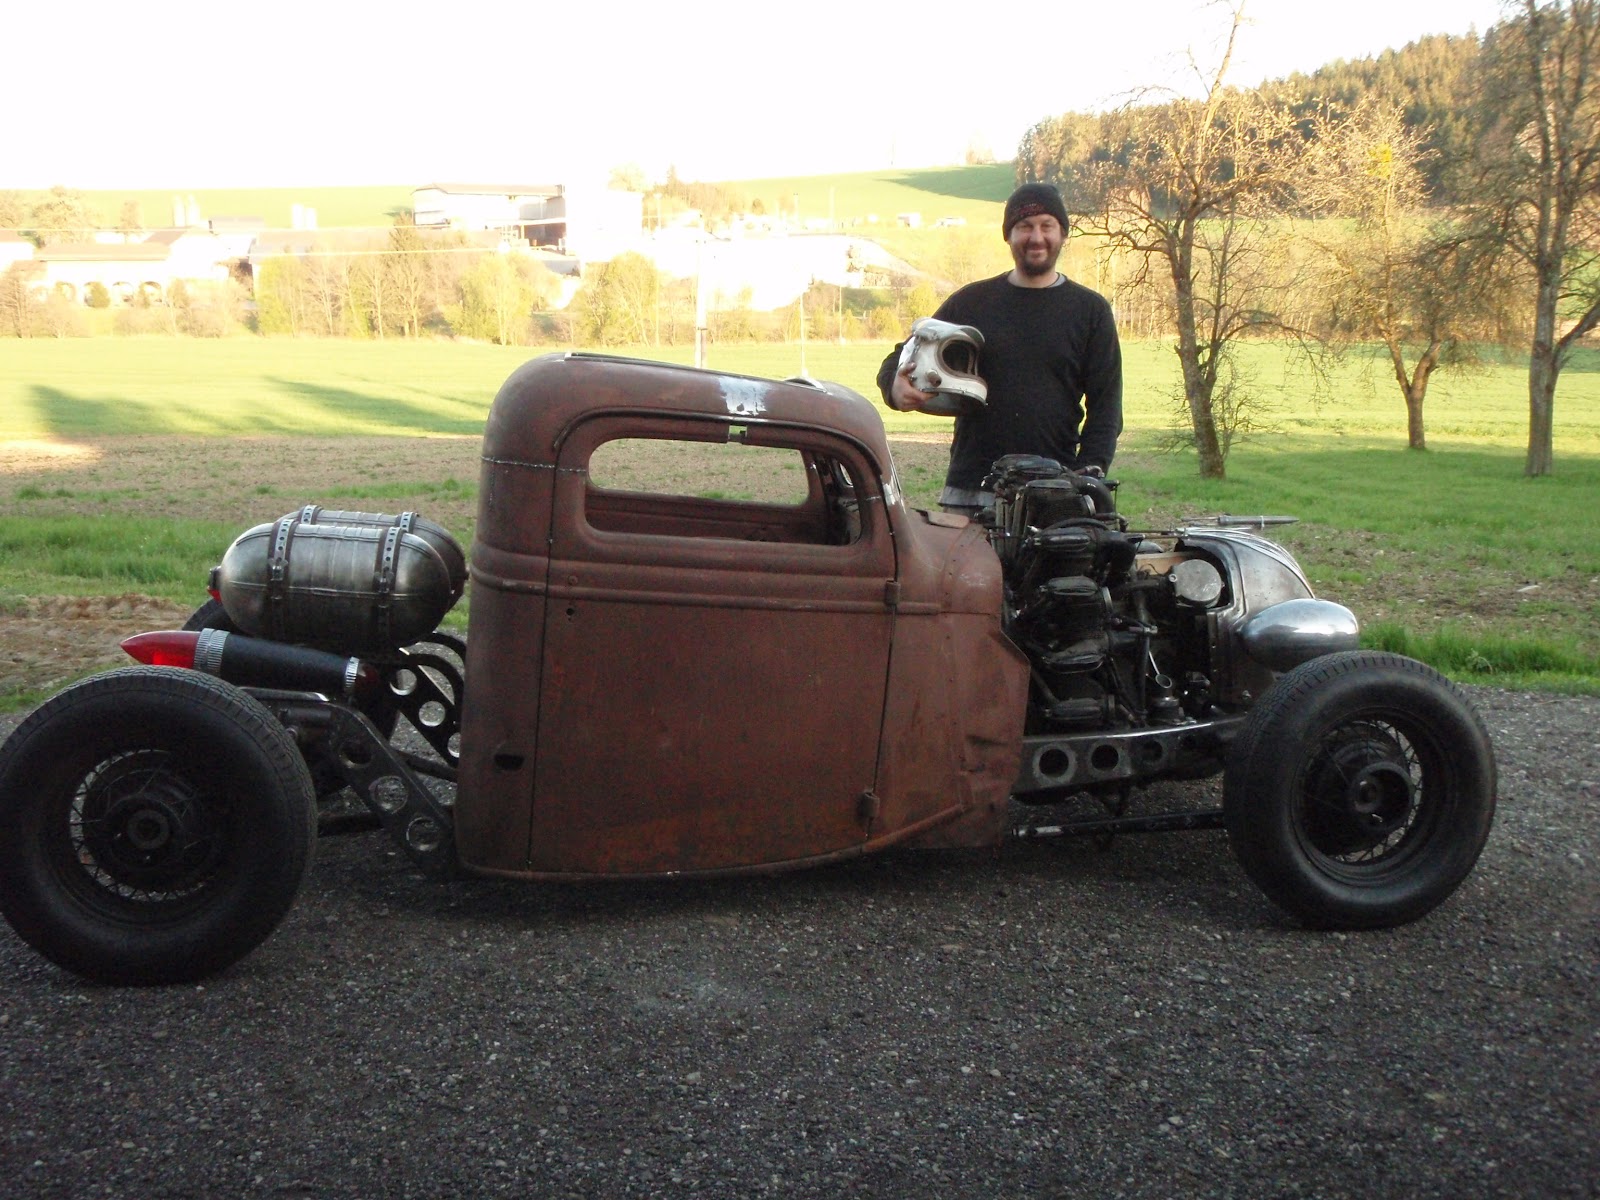
| Jakob Perich and the 40 coupe |
The tire shop was lagging with the tire swap,
since inner tubes aren't normally carried anymore.
With some temporary rims installed,
the rear end was the perfect width.
 |
| ford posi third member |
Later on I'll swap out the 3.0+ one legger pumpkin
for this 3.50 posi unit.
Double burnouts!
At least I won't get stuck as easily off roading.
 |
| 1940 ford coupe chopped and channeled |
The next day the tires still weren't ready.
Oh well,
Not like it's going anywhere.
 |
| perich brothers 1940 ford coupe |
Much better with the running boards.
One thing off the list!
TP