the whaler project was a daily obsession.
Even 1-2 hours would help it progress.

Even with the late daylight,
other things are squeezed in.

It was a tough decision,
but the mahogany was here,
and it seemed family oriented,
while allowing a work boat use too.

I was wound up like a spring,
as the plan relived in my head for a week.

Cardboard rectangles were matched for each plank section,
and the console templates whittled down to fit.
Bummer to not have a picture,
as it had been taped up for a week.

one of the deciding points on the
Boston Whaler Currituck style side console.

even with a recessed spot,
the controls were a little wide.
What to do,
modify the wood or the boat?

I did get some drink holders cut in.

after a STD list was penciled out.
A "chit-to-do" list means the end is close,
and all the specifics needed to finish can be mapped out.
You don't want to do this too early,
the longer the list the harder it is to start.
I suggest going in blind pretending it'll be easy.

Certain tasks get the boat on the water,
other tasks make it more comfortable or useful,
then certain things just make it look cool.
You'd think the priority would be the utilitarian stuff,
but many times doing fru-fru work is what makes momentum to want to finish.

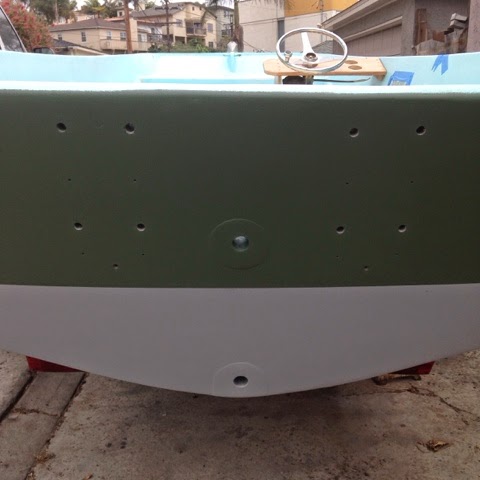
I realized the hull should be painted,
then the motor mount could be bolted on permanently.

The curves and edges made it tricky
to figure out the waterline.
There's a nighttime method using string and a light,
the shadow is like a laser beam.
There is a factory guideline,
but it didn't match up.

A little off,
however there may be a third stripe later on.

If you're a long time reader,
ya may remember that green paint.
This stuff took weeks to harden up on the chopped 40.
Definitely took a risk using it on here,
as the same problem is happening.
It is slowly curing though,
just takes time and hot days.

Dang this thing was rough.
TP
No comments:
Post a Comment