Showing posts with label spaghetti. Show all posts

06 November 2013

Return of the Hurtlocker Truck

Man I've been lagging on writing up posts on here.
We'll go most recent first and see how far back I can remember.
Here's the return of the HURTLOCKER TRUCK!!
Hurtlocker Truck - 1955 Chevy w/corvette running gear


After 2 deployments,
Ken is back and good to get restarted on his truck project.
It's been a long haul,
and while it seems like the end is near,
there is a ton of stuff to do.
Guess that's what happens when you don't just throw stuff together!
Add caption


Fortunately the project was stored in a clean garage.
Not much has changed for the worse in the year or so it had been sitting.
chevy 350


It took and is still taking some time to get a master plan.
For now it is to start installing the box of mail order parts he had stashed.
typical


It seems like for every $50 spent,
there is an hour of assembly issues.
Nothing has been an easy bolt-on with this thing!
Here's a good example,
the accelerator pedal had to be on the spot with the floor gussets.
insert face here


I'll use an excuse to not wear a dust mask,
like outside in the wind,
or holding my breath as long as possible,
but underneath a car in a garage,
it's nice to be able to breath.
I still don't see how some guys don't realize the junk they're breathing in.
It's nasty stuff.
pipes


This gave me a chance to clean up some of that nasty patch weld too.
Thinking about the pedal installation was harder than the actual install.
These companies try to come up with a one style fits all type application,
but it doesn't really work that way.
I'm betting this will need to be modified to be comfortable to drive.
bolt-on


A Lokar accelerator cable and a trans-dapt kickdown cable were used
to hook up the carburetor.
There are alot ot little parts and adapter brackets to hook up.
In my opinion the shine masks the one style fits all type engineering.
I'd still suggest modifying a TV cable for certain applications.
street rod chevy 350


While going through the pandora box of treasures,
the EZ wiring harness was found.
Holey chit...
holey chit - metal spaghetti


There's alot more going on than it appears.
First thing was to mount the fuse panel.
template


Grinding is always a good opportunity to let the subconscious kick in,
hoping a solution will pop up.
bracket


Interesting that a simple bracket isn't made to mount this panel.
Hopefully they won't read this and put guys like me out of work!
mail order engineering


I like this fuse box,
it is small and tight,
not huge and square like some of the other ones out there.
wired


This was really the easy part.
There are door poppers, a push-button ignition,
and other accessories in addition to the deluxe wiring kit.
All these relays and brain boxes need a clean panel.
That's my homework!
wired


Meanwhile Ken was hard at work redoing the seats.
Of course there are no clear pics.
They really are too perfect to work around!
radiator template


One of the more important (to me) things he did was make a radiator template.
Measurements were made and the radiator company designed a system,
but the measurements were just off enough that the time needed to make an
actual cardboard replica was well worth it.

Stay tuned - more to come!

TP

06 September 2013

braking news

Time for a little interruption in the Ventura chronicles,
for an important gearhead update.
jakob - master brake pumper


I've been s-l-o-w-l-y fiddling with the brakes on the green 40,
and yesterday the mission was completed.
spaghetti


The remaining rear lines weren't terribly difficult,
as NAPA had a series of brake line adapters that had the different nuts needed.
Only the two long rear lines needed reflaring.
1936 ford rear wishbone setup


With everything hopefully tightened up,
it was finally time to add some brake fluid.
This was a monumental step,
as the disc brake kit was bought in April of last year.
juiced


(Still need to finish up the floor...)
I had scrounged a really cool MITYVAC brake bleeder kit,
and wow this made it so much easier to suck out the bubbles.
At the end I had Jakob pump the brakes the traditional way,
and it was amazing there were no bubbles.
mityvac II brake bleeder


The only serious leak issue was in this brass splitter.
Cranking it down didn't seal it up,
so tight I thought the brass threads would strip.
I ended up cheating and using some Loctite 567,
it's got a 10K psi rating,
and so far it's sealed up without over-cranking.
Good chit.
Next time I'll dab this on all the threads,
as it also works as a lubricant.
Super cool to finally have brakes!
loctite 567


Now time to button up all the little things.
This was a weird one,
the speedway disc brake had a series of adapters,
and the spindle nut was about 1/16" too far out.
A cotter pin wouldn't slide in.
nut mods


I checked to make sure everything was seated correctly,
and the only fix was to file out the castellated nut groove.
nutty


The exhaust magnified a couple issues with the engine.
With open pipes it sounded great.
With the dual pipes there was an obvious miss.
There ended up being a cracked spark plug,
but more importantly I noticed a fat gap.


Remember when I was doing that electronic ignition trick?
Well that was tossed out temporarily for the stock points.
The plugs need a wide 060 gap for the electronic ignition,
but only an 035 or so gap for the points.
With the proper gap and replacement plug,
the engine ran so much better.
Gonna pick up the driveshaft later today,
so may be driveable really soon!

TP

27 June 2013

wrenching - day 2

This is going to be another not too exciting post.
By trying to build up the momentum,
maybe seeing how slow movement is will get my a$$ in gear!
2 LB residual valve assortment


I tried to be thrifty by getting the combination and residual valves as a kit.
It bewilders me that the people that sell these things
wouldn't make a kit that is actually complete.
Since the FORD combination valve was being used,
two 2lb residual valves were needed for the front brakes,
not only the one that they included (with a 10 for the rear)
A second valve was ordered that looked like the one I had,
and low and behold there are different variations of these things.
disassembled residual valve


The valves in the kit have flare fittings or adapters,
so the 3/16" line threads right into the 3/8"-16 fitting.
The new style is a little different.
There is a 7/16"-24 nut included that needs to be reflared into the line.
The other side has the adapter.
It's not a big deal but I did notice that the picture didn't have the black nut.
Oh well that's internet shopping.
spent double flare tool


The flare tool is on its last legs.
The clamp nut had broke years ago,
and the new nut had finally stripped out the cheesy pivot bolt.
Good thing the vice is bolted down as it works fine like this.
finished residual valve


The mismatched thread sizes make it fool proof
to install the valve in the correct direction.
Maybe that's the reasoning behind this version.
ford master cylinder + combination/proportioning valve


Now the front lines are connected to the calipers.
The list for the rear lines was made up,
but that will be for another day.
I'll pull the rear hubs to see what brake parts are needed first.
Now to find something that doesn't cost money...
**************************************************

ween - don't chit where you eat
**************************************************

The new brake setup in the green 40 required 3/16" brake line,
which meant ripping out all the old 1/4" brake lines and hoses.\
Why waste all that earlier work?
The brakes actually worked great for 4-wheel drums.
Everything may fit without too much modification in the rusty 40.
We had been using the old "throw the wood block under the wheel" trick.
old 40 brakes


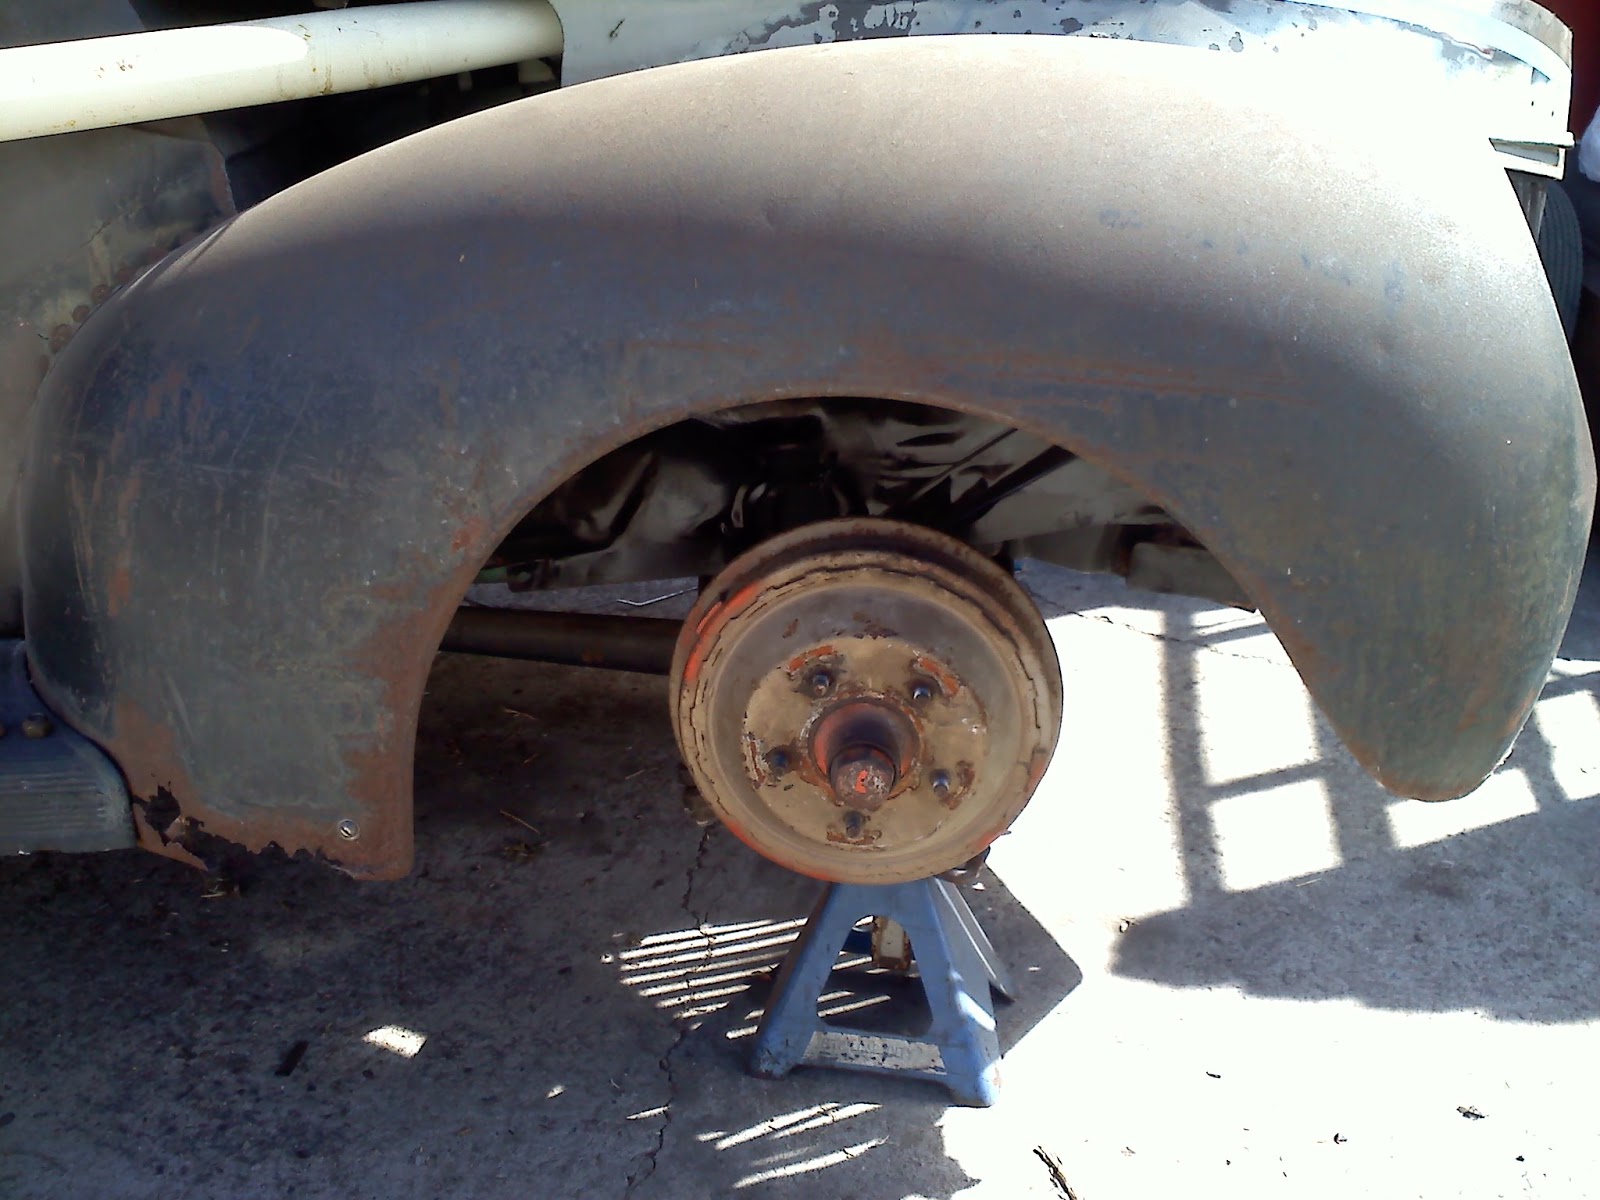
Here you can see the 40 brake drums that were originally on the green 40.
Before 1965 it had a metallic lime green body with gold suspension/rims!
Then sometime about 1965 they sprayed the front rims neon orange,
and the rear rims royal blue.
Must have been quite a sight.
f-100 brake


I ran these F-1 or F-100 front brakes on the green 40 instead.
The drums and shoes are barely worn.
After a little wire brushing and some black paint,
I remembered that there is a little grinding needed on the spindle.
Guess that'll be for tomorrow now.
stool time


Nothing like juggling projects!

TP

04 April 2012

how to - $13 suspension upgrade

There's an old hot rod suspension trick,
grafting the front radius rod ball from a 30's Ford,
on to the rear arms.

traditional rear suspension


I love the idea reusing the old parts,
but over the past 10 years there has been constant upkeep.
I've gone through a couple of the rubber balls that cover the pivot ball,
and the cast housing had cracked.

repaired 1936 ford housing


Instead of continuing the fight,
another variation has been brewing to locate the rear end,
retaining the theme of reusing front end parts.

modified rear suspension


I had used this idea on the rusty 40 coupe.
Using a 60's chevy ball joint.
It seems strong but I wish I had put it upside down,
so the weight of the body would push up the ball joint.

chief's old suspension


Chief's  (1929 roadster pickup) rear suspension was perfect for this conversion.

surgery


The ball was quickly hacked off.

template


I had visualized a triangular plate,
but forgot the template when I went back to the shop.

1968 ford mustang ball joint


It took a long time to file out the angled hole.
The chevy version uses a 1/2" nut,
and the ford version uses a 9/16" nut,
on a 5/8"(start) tapered shaft.
Much stronger.

Oh yeah,
another thing I had to do was redrill the stud for a closer cotter pin,
cutting the post down almost about half an inch.

donkey dick


Back in the garage,
the locater hole only needed to be enlarged a little bit.
I was lucky that the original housing used a similar hole.

ball joint installed


After alot of drilling and filing,
the ball joint was finally installed.

There's a little play just in case it needs to be tuned up,
not because it was getting late and I was in a rush,
working on my back in a pile of metal shavings,
while the kids were starving so I was also cooking spaghetti,
since they were too busy building models.

welded


With the ball joint centered,
and the kids fed,
the new bracket was trimmed to fit.
Since this was home garage work,
I had to stick weld it on.
It passed the hammer test.

trippy engineering


After some wire brushing to remove the flux,
some rattle can was sprayed on the hot metal.
It really bakes it on.

updated rear suspension


After years of trying to limit the old pickup to 1940's technology,
it is time to test this 1960's upgrade.

I've put alot of thought into this,
and figure the old pivot housing was located with 2 bolts,
and the ball joint with 3.
The old pivot housing was cast,
the ball joint (i think) is forged.
They both use a large locating hole to keep them centered,
so if something breaks the housing is still secure.
Also,
the thickness of the ball joint shaft,
is about the same as the attachment post of the old pivot ball.

hot rod rear suspension


The main thing is to keep tabs on it.
The pivot seems rock solid,
just like a spindle in an A-arm.

The suspension only has a couple inches travel,
so the ball joint won't have radical movement.
The transverse rear spring also really limits any front or side to side play.
If anything,
I can always trade up from this $13 ball joint to the $40 version.


Time will tell!

TP

26 March 2012

goodbye little sunflower

After over 4 years as our faithful steed,
today the old Lincoln was put to rest.

1990 lincoln town car
photo by piGPen


What started as someone's $30K luxury vehicle,
transformed into our $800 family sled,
even moonlighting as a shop truck in it's retirement.

OG lincoln town car SUV


Heck,
it was even good for smuggling people!

perich brothers visits chabott engineering
photo by ZAP


Gotta love the trunk space.
Funny cause the Chabott crew is going through their own vehicular turn over.
shinya kimura @ chabott engineering
Must be in the planets.

*****************************************************


Legion of Mary - Little Sunflower - July 4, 1975

A great work jam or cruising tune.
This is the musical description of driving a Lincoln Town Car.
Really.
Goodbye little sunflower...

*****************************************************

For the car that never stranded us,
sadly there was no long final good bye cruise.
Just a limp around the block,
not even enough to really warm up the old V8.

sturdy 5.0 ford engine


That's what was tough about deciding what to do with it.
The car ran great,
engine hummed and shifted fine.
The main problem was the brakes.
Sometimes they would work,
sometimes they would barely work.
It was a little disconcerting.

Probably a cheap fix,
but with the broken power windows,
the leaky main seal,
and the smog/registration coming up,
it was time.

spaghetti


A half-ass attempt to sell it on craigslist valued the car at maybe $600.
While that would have been the smart decision,
the hot rodder in me couldn't let a good running 302/aod combo go for that low.
This re-seed was planted from the very beginning.
The car was purchased with 167K miles on it and we only ran it 10K in the 4 years.
Just enough to test its durability.

holey chit


I've pulled this engine out before,
and for some reason I don't remember there being so many wires and hoses.

first engine pull - 2008
photo by piGPen


Funny how that works.
The plan is to keep the engine, transmission, battery and driveshaft.

sprinkles


Unfortunately it took alot longer to pull than I remember too.
There's a couple interested buyers for the carcass,
but a surprise storm messed up my timing.
Why didn't I start this on Saturday?

so cal rain


Oh yeah,
we were making a shelter for the chocolate and cheese roadster.
Weird how things work out.

TP