Okay so last post I told you about the
sleeping monster.
Now you'll know what I meant!
 |
| Jakob & new/old paddle |
Our biggest problem was multiple boats,
3 paddlers and only 2 paddles.
A quick craigslist hunt came up with a $40 score.
(thanks CL seller!)
 |
| big and little |
That's the white one on the left.
The brownish one is my old faithful Merv Larson stick.
Being cheap has some drawbacks.
This 230cm/90" paddle was almost a foot longer than we needed it to be.

So here's a "how to - shorten a fiberglass kayak paddle".
The popular paddle size is 220cm/86+",
which is good for fat wide kayaks.
Hey that's not a foot difference you may wonder.
 |
| hot rod work bench |
I put some time in an OC-6 team,
those long 6-man outrigger canoes using a single blade paddle,
and learned shorter paddles allow a snappier vertical stroke,
using less arm and more torso strength.
It will also be better for the kids and strong winds.
We're shooting for a 208cm/81+" length.
 |
| slice |
About 10 inches were cut out of the center.
Then a 5 inch section was cut out the scrap,
and sliced up to use as a ferrule for joint.
Here I realized I was sparse on fiberglass resin,
so we took a trip to my parents house over the hill.
 |
| prepped |
The first thing to do was set up the feathering angle.
That is the offset angle of the two paddle blades.
There's a
ton of argument on the correct angle and control side,
but really it's up to the individual.
We're going for 60-70 degrees.
 |
| real work bench |
The easiest way is to make a mark at the split,
when the paddles are at 0 degrees,
then another when they are at 90 degrees.
The center of those marks is 45 degrees,
and the quarter of those marks is about 70.

All the materials were collected.
I had some carbon fiber lying around.
It's important to use epoxy resin (or vinylester) or it will crack.
Time to preposition the clamp spot.
 |
| goodies |
A couple wood blocks were needed,
and it reminded me of some friends recent blog post...
shinya kimura @ chabott engineering: DIY: work desk for #12 mezzanine...
 |
| Jaxon - child labor |
My dad had one hand saw in his stash,
an old tree branch saw he's had for years.
 |
| Jakob - child labor |
The kids and I all had our go at sawing away.
Must have been in the planets so similar to that link.
(see we read and learn shinya and ayu!)
 |
| glued |
Resin mixed and the ferrule glued up...
 |
| checking feathering angle |
...and the last double check for a decent feathering angle.
This is why it's hard to know an exact number,
it's all in the feel.
My personal paddle is a left hand control,
due to that bike fall I told about last post.
This one will be right hand control.
 |
| layup |
The layup is easy,
similar to paper mache.
The carbon fiber is first,
and a layer of fiberglass cloth covers that.
Should have used gloves here!
 |
| goop |
It looks nasty and goopy and it is.
This is a little too wet with resin as well.
 |
| cheap vacuum bag |
The trick is to get that plastic bag scrap,
and wrap it around the seam.
 |
| tape wrap |
Masking tape is then wrapped around the repair,
squeezing out the extra resin,
and compressing the layup like a vacuum bag.
 |
| straight |
The paddle is blocked as straight as possible,
clamped up,
and left to harden.
 |
| clamped |
After a bike ride and some chores,
we couldn't wait to see how it turned out.
 |
| time to unwrap |
Jakob unwrapped it,
and it looked about as good as expected.
Shiny smooth with no sanding needed.
 |
| smooth |
Time for a little rattlecan customization.
Only right side painted so it's easy to recognize,
and bright enough to be visible far away.
 |
| shorty paddles |
Here's a similar repair on that right paddle.
It's held up for at least 15 years now,
using only one wrap of fiberglass tape.
Long ago someone had made this a two-piece paddle.
 |
| one-piece |
The boys couldn't stop and added some stripes...
 |
| rattlecanners |
And finally the paddle was finished.
 |
| perich brothers - Jaxon & Jakob - 2013 |
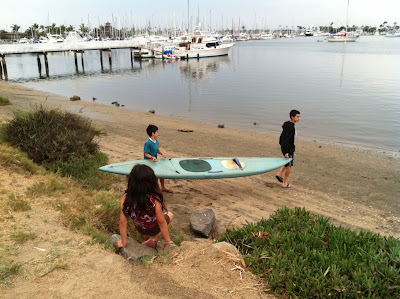
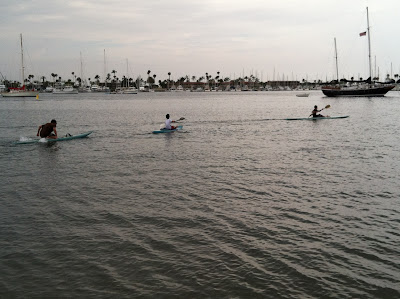
Time to test it out!
TP


