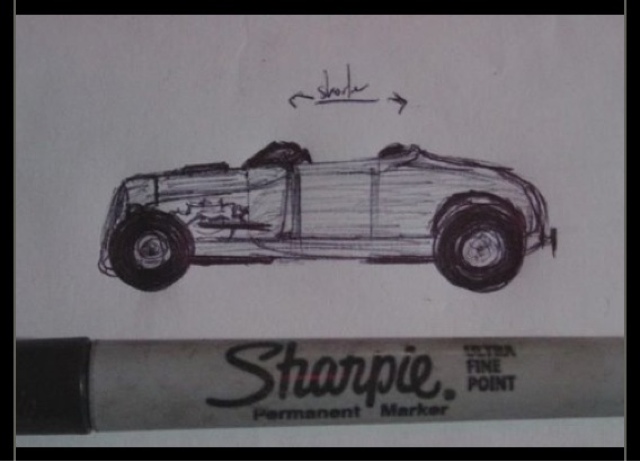
the longest hibernating project,
temporarily nicknamed the Sharpie Roadster.
Can you figure out why?
were collected back in the Ventura era,
over 7 years ago.
Greg has been more than patient,
watching other projects take precedence.
The kids think it's normal to have these lying around.
Why did it take so long?
to match the body.
It seemed like yesterday
when these boxing plates were welded and slotted.
The shop is a crude work space,
and each project dials it in a little bit more.
Good thing he doesn't mind heights.
Rumor had it a framing table was coming,
so in the meantime the body was hammered out.
The passenger side is a little squashed.
No more jackstands and crouching down.
A heavy duty monster!
Now where to start?
Measuring and remeasuring,
the table made it easier to square up the rails.
One of the first versions whittled from 2x3 square tubing.
adding 8" to the spring distances.
I went for a 1" shorter than stock 1932 wheelbase at 105",
a couple inches longer than a stock model A.
The track nose will fill in that length.
and 1949 overdrive transmission.
Now for the exciting part.
for the center x-member in Chief.
An idea was sketched out to mimic production styling,
but not look like basic tubing.
but it's almost exactly what I was hoping for.
has a thicker reinforcement plate,
and open space to bolt straight through.
so bolts and nuts were used to keep it's shape.
and only tacked in to place.
There will be front and rear diagonals added,
and big holes cut out of the open area,
so it may be necessary to remove it later.


No comments:
Post a Comment